
Pets are the final boss of background removal. Fur has no clear edge, whiskers are a pixel wide, and the animal almost never sits still on a nice plain backdrop. Doing it by hand takes ages. With a model trained on soft edges it takes a few seconds, and you only need to know a couple of tricks for the rest.
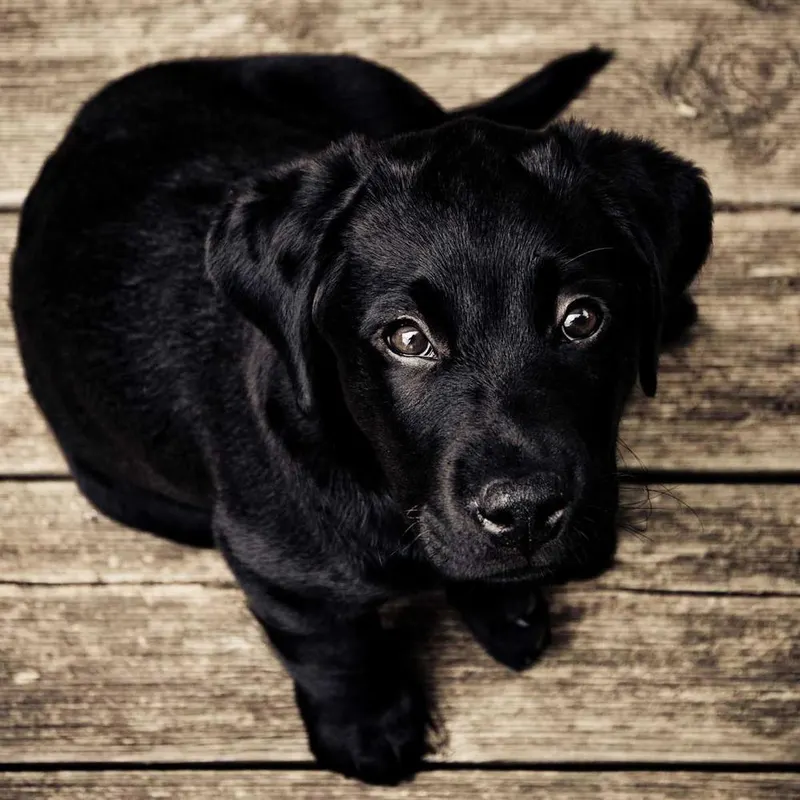
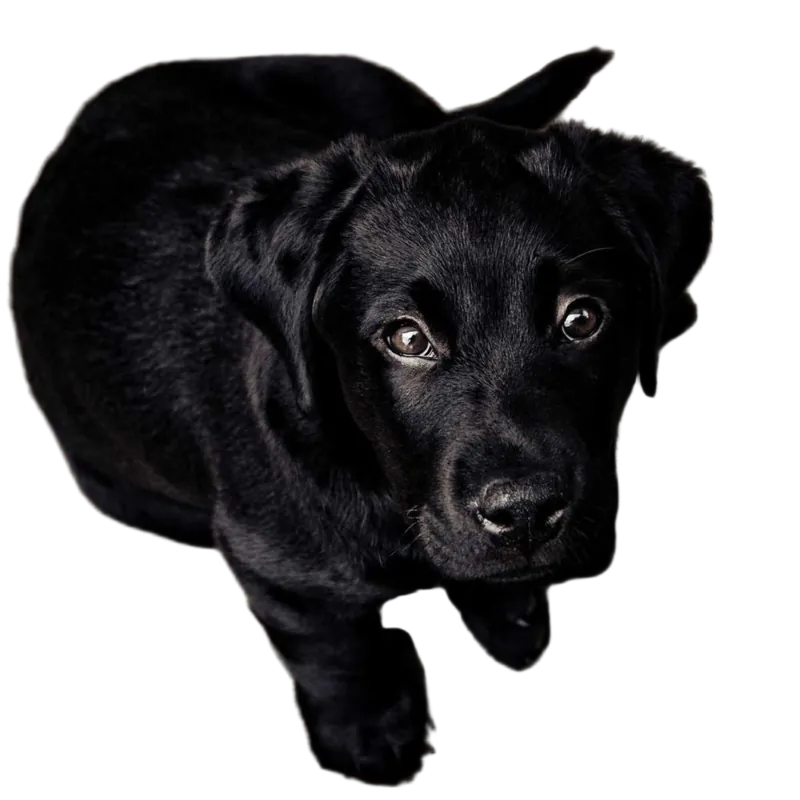
1. Get a usable photo
- Get down to their level. Eye-height photos look better and show the whole outline of the animal.
- Light matters more than the background. A bright, sharp photo on a messy floor cuts out better than a dark photo on a plain wall.
- Burst mode. Pets move. Take ten and keep the sharpest one.
- Contrast helps. A light dog on a dark rug, a dark cat on a light blanket. When you can choose, choose contrast.
2. Remove the background
Upload the photo. The model looks for the animal and removes everything else, keeping fur as soft, partly transparent edges so it looks natural on any color.
3. Fix whiskers and paws
Open the Cutout tab. The original appears faintly behind your pet, so you can see what was cut.
- Missing whisker or ear tip? Switch to Restore and brush over it. It comes back from the original photo.
- Bit of carpet between the legs? Erase with the Magic Brush, starting the stroke on the carpet. It won’t touch the fur.
- Dark pet on a dark background? Turn Magic off and use a small Normal brush, because the colors are too similar for the color check.
4. Use it
Download a transparent PNG for stickers, mugs, shirts and cards. Or put your pet on a new background right in the editor: a gradient for a portrait look, one of our photo scenes, or a snowy mountain if your dog deserves an adventure.