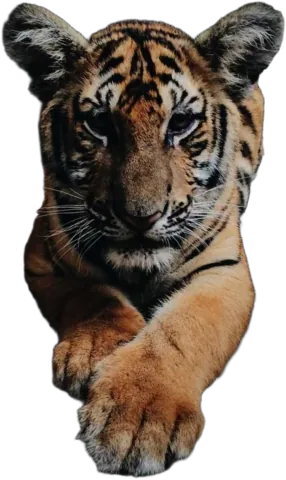
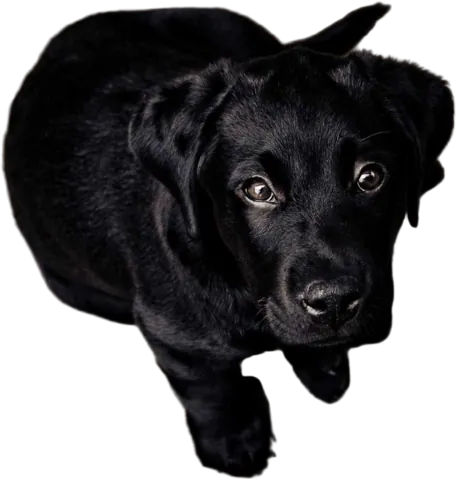
Blur the background, not the subject
That soft, out-of-focus look you get from an expensive lens. Here it takes one slider: the background melts away, and your subject stays crisp down to the whiskers.
Drop images here
or paste with Ctrl + V · up to 10 JPG, PNG or WebP images, 15 MB each
Upload images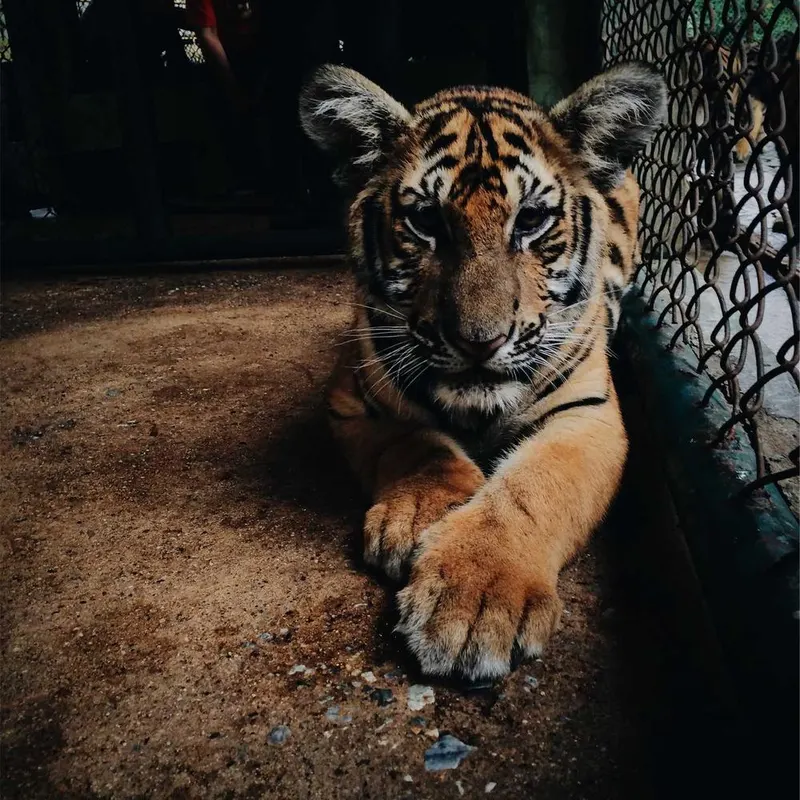
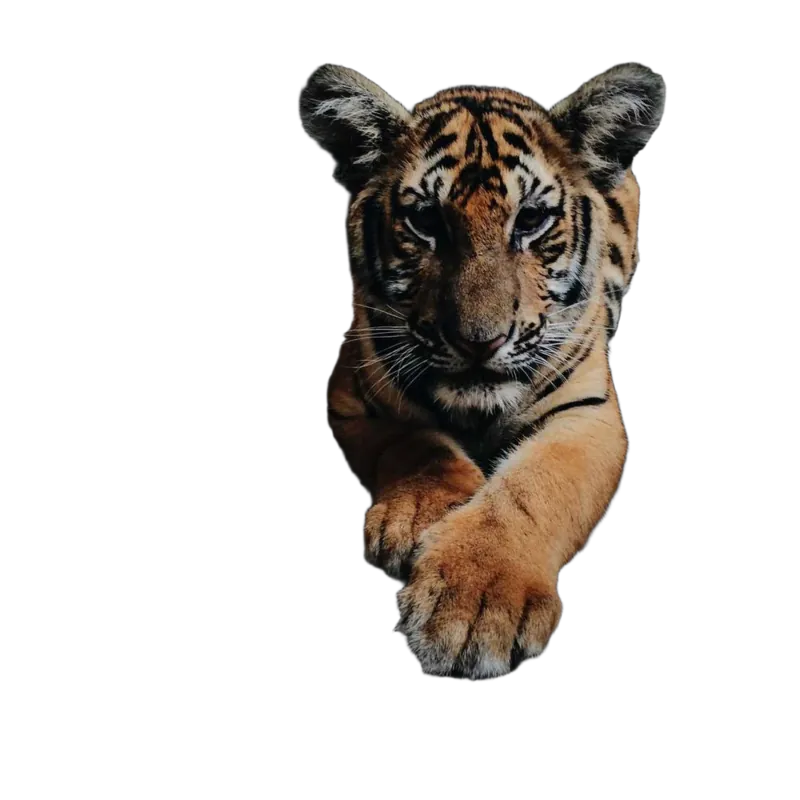 Original background, blurred
Why blur instead of remove?
Sometimes the background is fine. It just shouldn’t be the loudest thing in the picture. A busy street behind a portrait, a cluttered shelf behind a product, a garden full of detail behind your dog. Removing it completely can feel too clinical. Blurring it keeps the place, the light and the mood, and still puts the attention where it belongs.
Photographers get this look with wide-aperture lenses. Phones fake it with portrait mode, which often trips over hair and glasses. Because we cut out the subject first, the blur stops exactly at the edge.
How to blur a background
- 1
Upload your photo
The subject is cut out automatically.
- 2
Choose a photo background
In the Background tab, under Photo, pick Original to keep your own background. Or pick one of our scenes, or upload one.
- 3
Open Blur and slide
Move Background blur to taste. A little goes a long way for portraits; products often look best with more.
- 4
Download
PNG or JPG, at the full size of your photo.
How much blur?
- Portraits and headshots: keep it light. You still want to see that it’s an office or a park, just not every detail of it.
- Products: go heavier. The background turns into a soft wash of color that frames the product.
- Pets: somewhere in between. Enough to hide the mess in the living room.
If the background is so busy that even a blur doesn’t help, swap it for something else.
How do I blur the background of a photo?
Upload the photo, open the Background tab and choose Original under Photo, so your own background is used. Then go to Blur and move the Background blur slider until it looks right. Your subject stays sharp.
Can I blur a background I added?
Yes. The blur works on any photo background: the original, one of ours, or one you uploaded. Colors and gradients have nothing to blur.
Is this the same as portrait mode on my phone?
It gets you a similar look. Phones estimate depth, so the blur increases with distance. Here the whole background gets the same blur. With a single subject, most people can’t tell the difference.
Will the edges of my subject look smudged?
No. The blur is applied only to the background layer, behind the cut-out, so hair and edges stay as sharp as they were in your photo.
Related features
Change background
Swap the background for a color, a gradient, one of our photos or your own.
Drop shadow
A soft shadow under your cut-out, so it sits on the background instead of floating.
A professional headshot from a selfie
How to take the photo, cut it out and pick a background that works on LinkedIn.